Creating a dedicated charging station for your devices can save time, reduce clutter, and keep your electronics organized and ready to use. Whether you have smartphones, tablets, laptops, or other rechargeable gadgets, a well-planned charging station prevents tangled cables and misplaced devices. In this post, we’ll guide you through the process of setting up an effective charging station at home or in your workspace.
Why Set Up a Charging Station?
Many households and offices juggle multiple electronic devices daily. Without a designated area, cables and chargers end up scattered around, making it harder to find what you need. A charging station:
– Keeps devices organized and in one place.
– Protects cables from wear and tear.
– Helps reduce clutter on desks or counters.
– Provides a safe charging environment.
– Makes it easier to monitor device charging.
By investing a little time and effort, you can create a functional and tidy space for all your charging needs.
Step 1: Choose the Right Location
Selecting the best spot for your charging station is an important first step.
– Accessibility: Pick a location that’s easy to reach and frequently used, such as a kitchen counter, home office desk, or living room side table.
– Power sources: Make sure the area has enough electrical outlets for your chargers and power strips.
– Ventilation and safety: Avoid cramped or enclosed spaces where devices can overheat. Ensure the space is dry and away from potential water sources or hazards.
– Visibility: A visible spot helps you keep track of devices and cables.
Planning where your station will live lets you tailor the setup to your daily habits.
Step 2: Gather Necessary Supplies
To build a neat charging station, gather these basic supplies:
– Power strip or multi-port USB charger: Consider a power strip with surge protection and enough outlets to accommodate all devices. Multi-port USB chargers reduce individual adapters.
– Charging cables: Ensure you have compatible cables for every device; extra lengths can be handy.
– Organizer or container: Use a tray, box, or drawer organizer to keep devices upright and separated.
– Cable management tools: Clips, ties, sleeves, or cable boxes help keep cables tidy and untangled.
– Labeling materials (optional): To identify chargers and cables easily.
Having everything ready will make assembling your charging station straightforward.
Step 3: Arrange and Organize Your Devices
Now that you’ve chosen the spot and collected supplies, it’s time to assemble the station.
1. Set up the power source
Plug your power strip or multi-port charger into the wall outlet, preferably out of direct view but accessible. If your power strip has USB ports alongside traditional outlets, plug your USB chargers there to minimize the number of individual plugs.
2. Organize your devices
Place your devices in the organizer or designated container. For phones and tablets, device stands or adjustable holders keep them upright and visible while charging. If your organizer has compartments, assign one per device to avoid overlap.
3. Manage cables effectively
Connect each cable to its device and power source. Use cable clips or ties to secure excess cable length, preventing tangles. If possible, route cables through cable sleeves or boxes to hide them for a cleaner look. Label both ends of cables if you have many devices and chargers.
Step 4: Maintain Your Charging Station
A charging station works best when regularly maintained:
– Remove dust and debris to keep devices and cables clean.
– Inspect cables for wear and replace if frayed to prevent hazards.
– Reorganize devices and cables if new gadgets are added or old ones retired.
– Keep the area clutter-free by avoiding placing non-charging items in the space.
Regular maintenance ensures your charging station stays safe and efficient.
Additional Tips for a Better Charging Station
– Use fast chargers: Upgrade to chargers that support fast charging for quicker convenience.
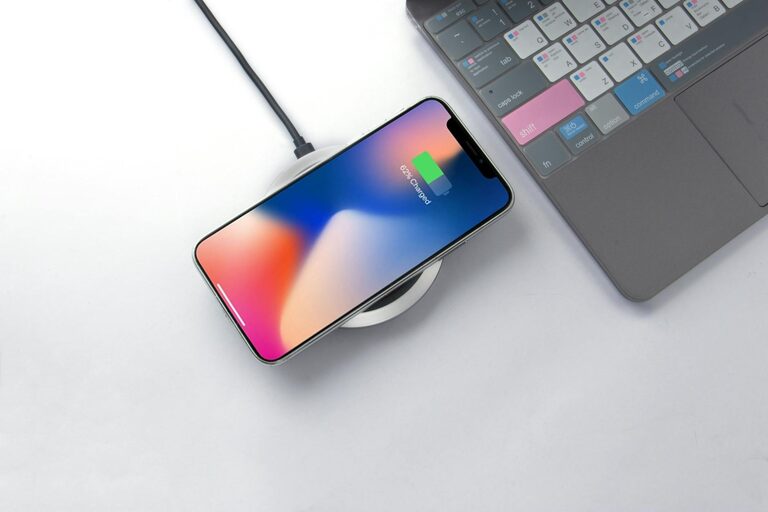
– Incorporate wireless charging pads: For compatible devices, wireless chargers reduce cable clutter.
– Consider child safety: If you have young children, ensure cords are out of reach and power strips have safety covers.
– Make it portable: Use a small basket or tray if you want to move the charging station between rooms.
Conclusion
Setting up a dedicated charging station can transform how you manage your devices. By choosing the right location, gathering supplies, organizing thoughtfully, and maintaining the setup, you create a simple and effective charging hub. This saves time, reduces frustration, and keeps your devices ready to go whenever you need them.
With a little planning, you’ll enjoy a tidier space and all your gadgets charged in one easy-to-find spot!